This series of posts intend to build a web application that uses Pyramid, Pymongo and WTForms.
The goal of this step is to setup the basic project structure.
Information
I suggest you to read the complete series of posts, but if you want to go straight to the final result you can download the project from github.
Each branch keeps the state of the project at a specific post, for example if you want to download the code for this specific post instead of the complete final project you should do the following:
git clone -b part01 https://github.com/albertosdneto/tutorial_pyramid_mongo.git
Let’s build it from scratch.
Create the folder with the name of the project and the folder for the virtual environment:
mkdir task_manager task_manager/env
Create the virtual environment:
python3 -m venv task_manager/env
Update the packages inside the virtual environment:
task_manager/env/bin/pip install --upgrade pip setuptools
Install pyramid and waitress at the virtual environment:
task_manager/env/bin/pip install "pyramid==1.10.4" waitress
Create the project using “pcreate”:
task_manager/env/bin/pcreate -s starter task_manager
I used ‘pcreate’ only because I wanted to exercise my freedom of choice, but you could follow the official documentation and use Cookiecutter.
Enter the project folder and install the project:
cd task_manager

env/bin/pip install -e .
Run the project:
env/bin/pserve development.ini --reload
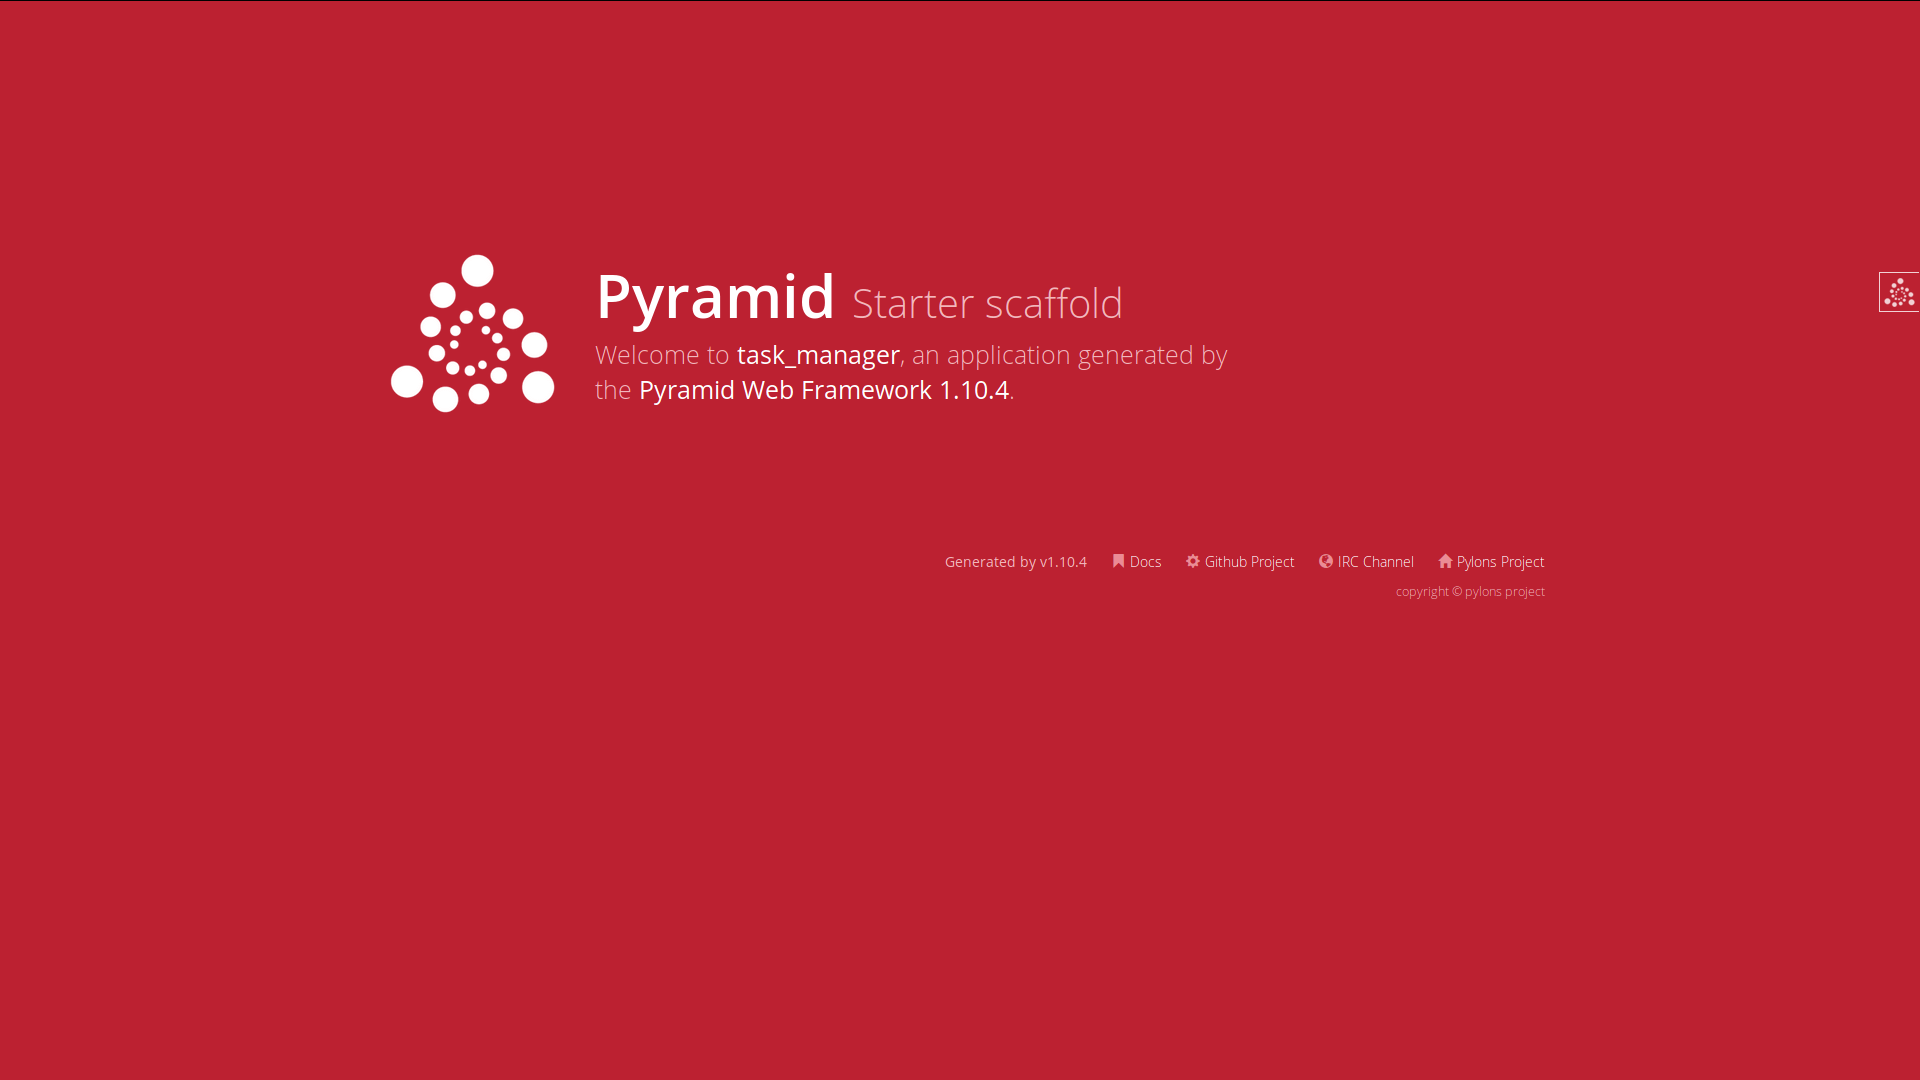
There it is. Go to the project address and you will see as it is at the image below:
We are going to use jinja2 templates, so let’s configure the project for that.
Got to task_manager/setup.py.
The requires section should look like this:
requires = [
     'pyramid',
     'pyramid_jinja2',
     'pyramid_debugtoolbar',
     'waitress',
     ]
Now let’s change the layout of our application.
Go to the folder task_manager/templates/ and open the layout.jinja2.
This file contains the html code that is common to all the other pages. The content of each page will be inside the block content.
Change the title and other tags as you want.
By the time I am writing this, the page is generated with bootstrap 3. You may change it, if you want. For now I will keep it.
As you can see, inside block content there is the text “No content”, which is not shown because it loads the page mytemplate.jinja2 at the “home” view.
Open the task_manager/views.py file and you will see the code below:
from pyramid.view import view_config


@view_config(route_name='home', renderer='templates/mytemplate.jinja2')
def my_view(request):
    return {'project': 'task_manager'}
Let’s rename the file mytemplate.jinja2 to home.jinja2 and change the reference at the views.py:
from pyramid.view import view_config


@view_config(route_name='home', renderer='templates/home.jinja2')
def my_view(request):
    return {'project': 'task_manager'}
In order to make it a little more organized and modular, lets create a file routes.py at the same folder where we have views.py.
The file routes.py will keep all the routes of our project.
The content of the file will be:
def includeme(config):
    config.add_static_view('static', 'static', cache_max_age=3600)
    config.add_route('home', '/')
At the file __index__.py we remove the lines that we put at the routes.py and include the routes.py file.
The result will be:
from pyramid.config import Configurator


def main(global_config, **settings):
    """ This function returns a Pyramid WSGI application.
    """
    config = Configurator(settings=settings)
    config.include('pyramid_jinja2')
    config.include('.routes')
    config.scan()
    return config.make_wsgi_app()
At this point we have the following file tree for task_manager/task_manager:
task_manager/task_manager
├── __init__.py
├── __pycache__
├── routes.py
├── static
│   ├── pyramid-16x16.png
│   ├── pyramid.png
│   └── theme.css
├── templates
│   ├── home.jinja2
│   └── layout.jinja2
├── tests.py
└── views.py
You can run the project again and check if everything is working.
At the upper task_manager folder:
env/bin/pserve development.ini --reload
You can find the code for this part of the project at the part01 branch of the project repository.
To clone and run the specific branch use:
git clone -b part01 https://github.com/albertosdneto/tutorial_pyramid_mongo.git

cd tutorial_pyramid_mongo/

python3 -m venv env

env/bin/pip install --upgrade pip setuptools

env/bin/pip install -e .

env/bin/pserve development.ini --reload